Set Up Facebook Login
Facebook login allows your attenders to log in to your Church Online Platform account with their Facebook credentials and creates a user account within the Church Online Platform. This is a two-step process within Facebook and the Church Online Platform.
Setting up the Facebook App
- Go to: developers.facebook.com and create an account, if needed
- Click on on "My Apps"
- Click "Create App"
- When prompted with, "What do you want your app to do?" choose "Allow people to log in with their Facebook account."
- Follow the set-up instructions
- App name: you can use your church name
- Contact email: use your email
- Business account: select one if necessary
- Click "Create app"
- Set up Facebook login
- Click "Products" in the left menu.
- Click the "Configure" menu under the Facebook Login Product.
- Click on "Settings". Do not use the Quickstart guide.
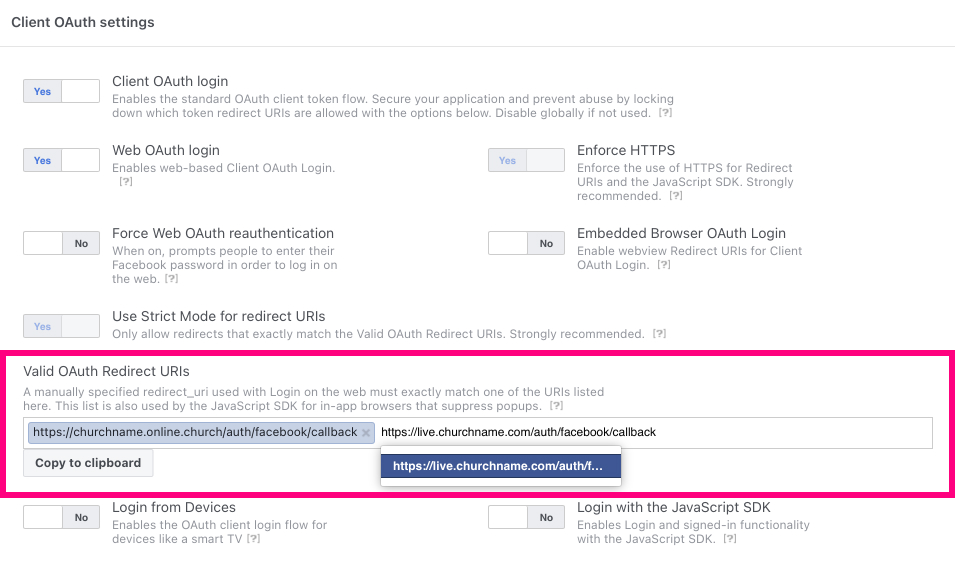
- Within "Valid OAuth Redirect URLs" put your Church Online Platform URL and Custom Domain (if you are using one) and add "/auth/facebook/callback"
Example: https://churchname.online.church/auth/facebook/callback
Custom domain example: https://live.churchname.com/auth/facebook/callback- Click "Save Changes."
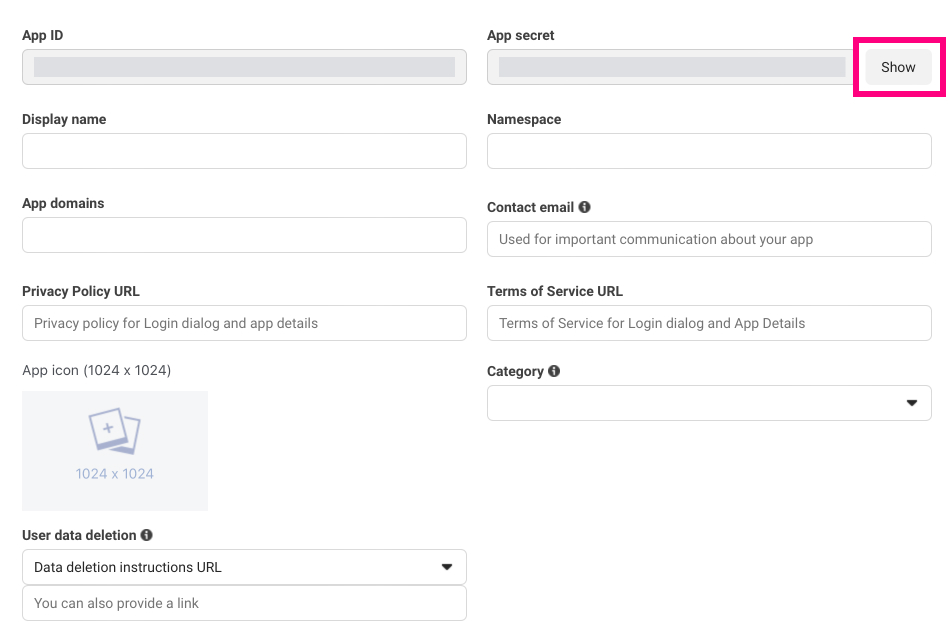
- Get app settings
- Go to the side menu, click on: App Settings > Basic.
- Copy the App ID and App Secret and keep the Facebook developer tools page open.
- Add your privacy policy URL.
- Add in your User Data Deletion URL. This can be the same as your privacy policy URL if is your policy specifies the information.
Setting up the Facebook Login within the Church Online Platform
- Go to your Church Online Platform account and log in to the admin
- Go to: Admin > Integrations > Facebook
- Copy and paste the Facebook App ID and App Secret into the correct fields
- Click "Save"
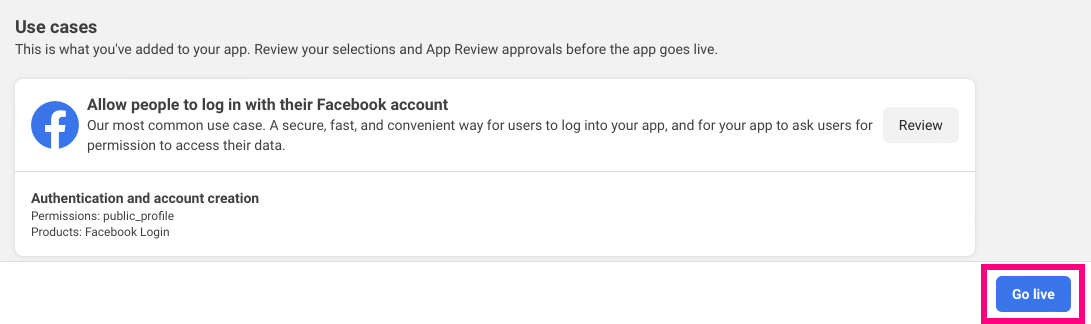
Turn on the Facebook Application
- Once you have it set up in the Church Online Platform, go back into the Facebook developer tools
- Navigate to "Go live" in the left menu.
- Fill in any required fields.
- Click "Go live" at the bottom of the screen